The Installation Process
The first step of the singly-ply roofing installation process is to clean or remove the existing roof. Once the existing substrate is ready, layers of insulation are installed followed by a cover board. The cover board is what the membrane will either attach to or rest on top of. Next, it’s time to install the membrane. Options for membrane assemblies include:
- Ballasted – Ideal for large retail stores and warehouses, ballasted systems hold the membrane in place by using gravel or pavers. In this type of system, the membrane is not permanently adhered or anchored.
- Mechanically Attached – The most common single-ply roofing assembly, mechanically attached roofs secure the membrane onto the deck through the use of plates and fasteners, making them great for areas prone to moderate winds.
- Fully Adhered – When compared to ballasted and mechanically attached systems, fully adhered roofing offers the highest level of stability and wind uplift protection. Since the membrane is bonded to the cover board, this roof system is ideal for high elevations and windy areas.
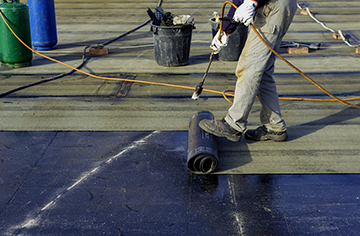
During installation, the roofing professionals at McDonald & Wetle will roll out membrane sheets according to the roofing system. If installing a TPO (thermoplastic polyolefin) or PVC (polyvinyl chloride) membrane, the contractor will use a hot-air gun to weld the seams together to form a weathertight bond. On the other hand, if an EPDM (ethylene propylene diene monomer) rubber membrane is being installed, the roofing expert will secure each seam with waterproof seam tape or adhesive.
Get an Estimate
Whether you’re looking to install a new single-ply membrane roof or to replace or repair an existing one, get in touch with the roofing experts at McDonald & Wetle. We’ll help you decide on a material and roofing system that will meet the needs of your commercial or industrial project. To get started, contact our Lakewood, WA or Portland, OR office today.
